 Gabri
You check your HWID in Windows by reading the hardware identifiers behind it one at a time, because Windows doesn't store a single "HWID number" anywhere. PowerShell, which comes with Windows, reads every one of them without a download.
On November 9, 2026, I read Microsoft's documentation for 11 of those identifiers, from the 128-bit system UUID in your motherboard's firmware to the endorsement key inside the TPM chip, and wrote down the built-in command for each one, so you won't need a third-party HWID checker for any of them.
Most HWID checker guides still start with WMIC, and that's the first thing that will fail on a current Windows 11 PC, because Microsoft has taken it out.
If you're checking your HWID because a game banned your PC, jump to the section on what an HWID checker can't show you.
If you only need a serial number for a license or a support ticket, the commands below are all you need, and Saturn isn't your answer.
How Do You Check Your HWID in Windows?
You check your HWID in Windows by opening PowerShell and running one command per hardware identifier, such as Get-CimInstance with the Win32_ComputerSystemProduct class for the 128-bit system UUID.
Each command prints one value, and together those values are what your HWID is made of.
- Press the Windows key, type
PowerShelland press Enter. - Copy one command from the list below, paste it into the window and press Enter.
- Read the value it prints, which is one input to your HWID and not the whole thing.
Software that builds an HWID reads several of these values and combines them, usually into a hash, which is why there's no one line you can copy and call "my HWID".
What you have instead is a set of serials, and an HWID checker, or a hardware ID checker, is anything that lists them.
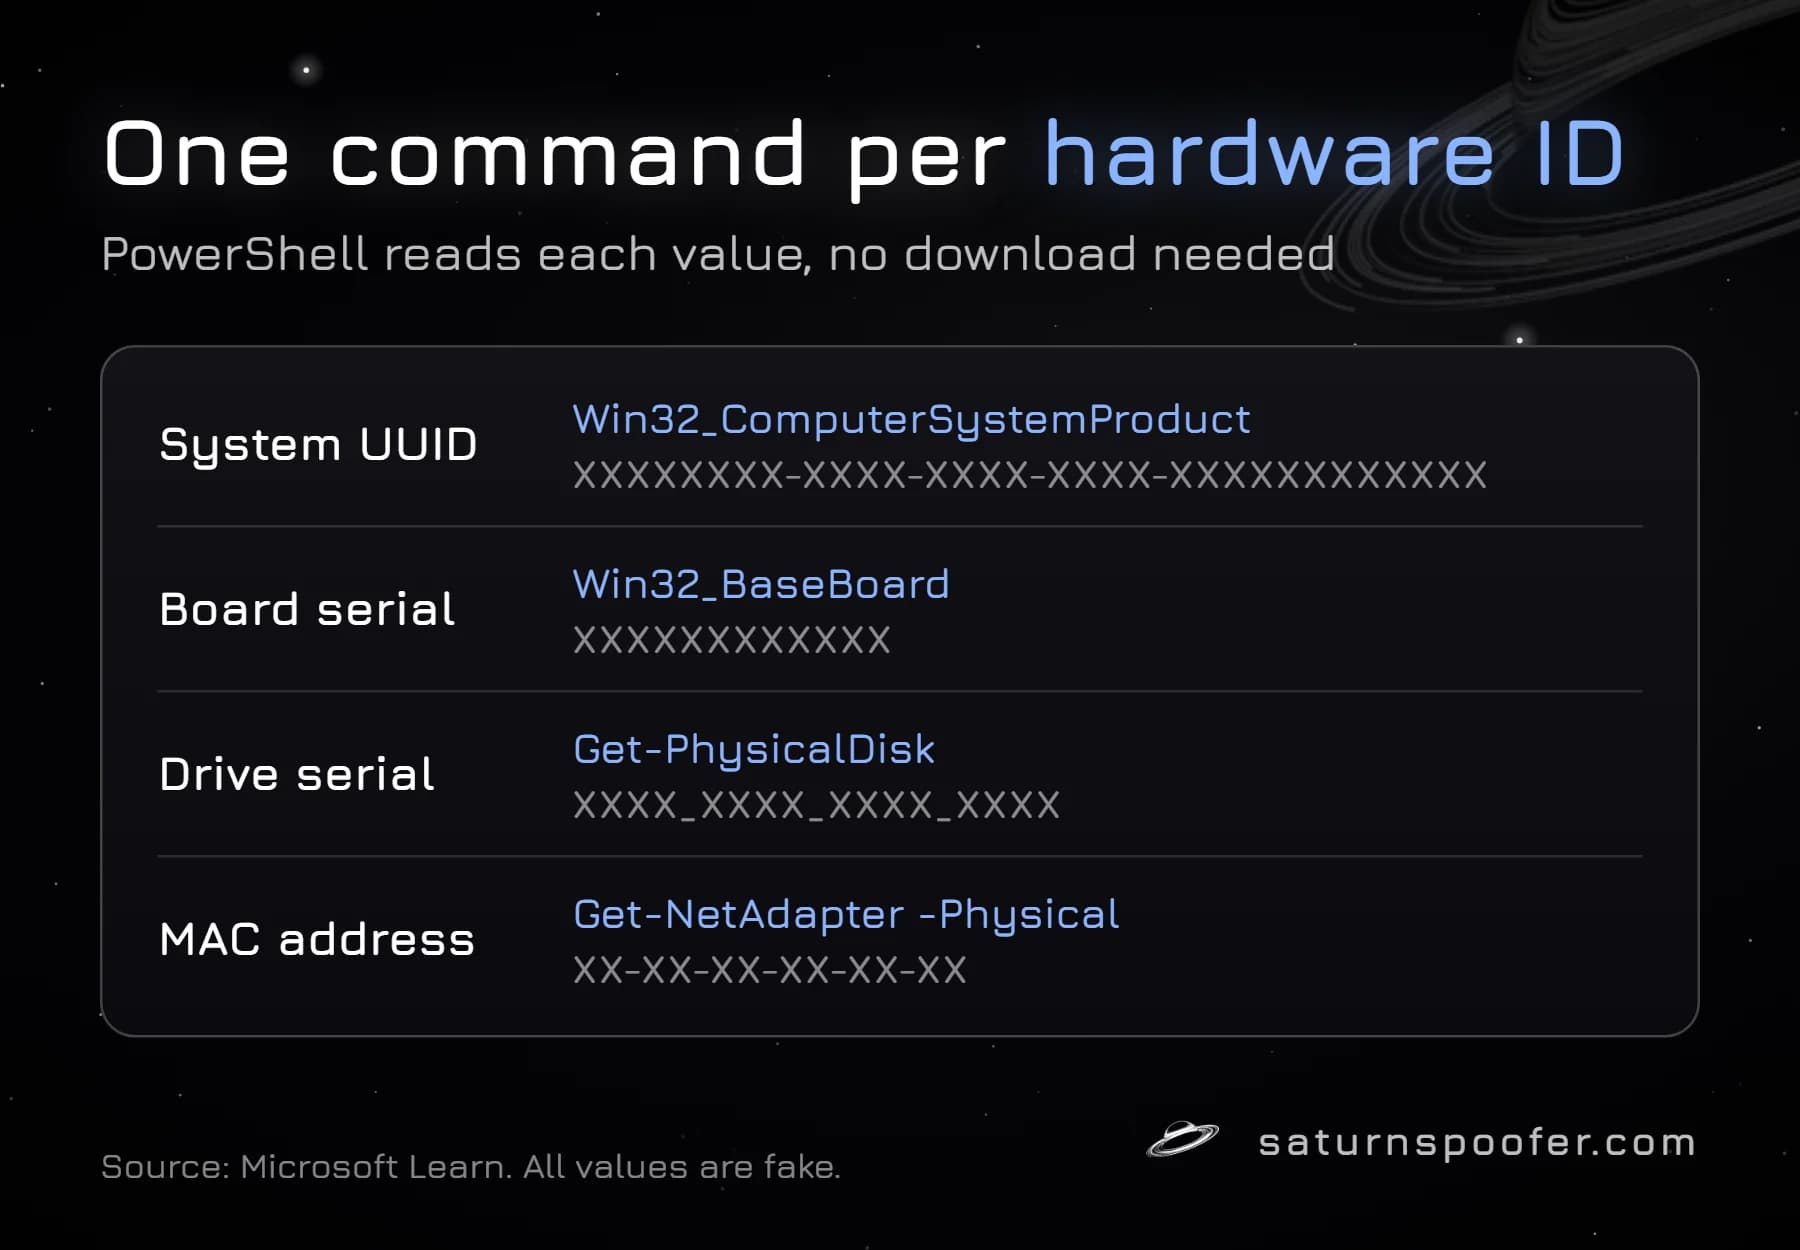
One command, one identifier. That's the whole method.
PowerShell Commands for Every Hardware ID
PowerShell reads most hardware IDs through Get-CimInstance, the cmdlet Microsoft documents for querying the WMI classes Windows uses to describe your hardware. Here are the 10 PowerShell commands, one per identifier:
- System UUID:
Get-CimInstance -ClassName Win32_ComputerSystemProduct | Select-Object UUID. Microsoft describes the system UUID as a 128-bit identifier taken from the System Information record in the board's SMBIOS firmware data. If no UUID is available, Windows reports all zeros. - Motherboard serial:
Get-CimInstance -ClassName Win32_BaseBoard | Select-Object SerialNumber. This is the number the manufacturer assigned to the board. - BIOS serial:
Get-CimInstance -ClassName Win32_BIOS | Select-Object SerialNumber. It's the serial number stored with the BIOS firmware. - Drive serials:
Get-PhysicalDisk | Select-Object FriendlyName, SerialNumber. You get one line per SSD or hard drive, and Microsoft describes each drive serial number as a number the manufacturer allocated to that drive. - MAC addresses:
Get-NetAdapter -Physical | Select-Object Name, MacAddress. Microsoft documents the -Physical switch as returning only physical network adapters, so virtual adapters stay off the list. - RAM serials:
Get-CimInstance -ClassName Win32_PhysicalMemory | Select-Object SerialNumber. You get one line per memory stick. - CPU ID:
Get-CimInstance -ClassName Win32_Processor | Select-Object ProcessorId. Microsoft says ProcessorId describes the processor's features, so identical CPUs report the same value. It's a model code, not a serial. - TPM endorsement key:
Get-TpmEndorsementKeyInfo -HashAlgorithm Sha256. Microsoft's example output lists IsPresent, PublicKey and PublicKeyHash, and the PublicKeyHash line fingerprints the endorsement key, which Microsoft says is unique for every TPM and can't be changed or removed. - Machine GUID:
Get-ItemPropertyValue -Path 'HKLM:\SOFTWARE\Microsoft\Cryptography' -Name MachineGuid. I found no Microsoft reference page for this one. That it lives at this path, and that Windows creates it during setup, both come from administrators' reports, not from Microsoft. - Monitor serial: Microsoft stores it in the WmiMonitorID class, in the root\wmi namespace, as a list of character codes. Its own example turns them into text:
gwmi WmiMonitorID -Namespace root\wmi | ForEach-Object {($_.UserFriendlyName -ne 0 | foreach {[char]$_}) -join ""; ($_.SerialNumberID -ne 0 | foreach {[char]$_}) -join ""}.
Two of these are weaker than they look.
The CPU ID repeats across identical processors, and the motherboard and BIOS serials are only as good as the maker who filled them in, which is why software that fingerprints a PC doesn't lean on any one value.
The strong ones are the system UUID, the drive serials and the TPM key. They're stored in firmware or in the chip itself, so a Windows reinstall doesn't touch them.
Command Prompt Commands That Still Work
Command Prompt still checks two hardware IDs on its own: the volume serial and your MAC addresses. Press the Windows key, type cmd and press Enter, then run either one:
- Volume serial:
vol C:. Microsoft documents vol as showing a drive's volume label and serial number. This is the 11th identifier, and Microsoft says the operating system assigns it when the drive is formatted, so a reformat changes it. - MAC addresses:
getmac /v. Microsoft documents getmac as returning the MAC address of every network card, and /v switches it to the verbose view.
Everything else in an old Command Prompt guide runs through wmic, and that's the part that breaks.
Why Do Old HWID Checker Commands Fail?
Old HWID checker commands fail because they're built on WMIC, a tool Microsoft has now removed from Windows 11. Microsoft's WMIC page says that starting in August 2026, Windows 11 versions 24H2 and 25H2 no longer include WMIC, and it can't be added back as an optional feature.
So wmic csproduct get uuid, wmic diskdrive get serialnumber and every batch file that wraps them now come back with an error on those versions.
This didn't come out of nowhere. Microsoft had already marked WMIC as deprecated back in Windows 10 version 21H1, and WMI itself, the system the PowerShell commands above read from, is still supported.
The second trap is Get-WmiObject, which Microsoft says Get-CimInstance superseded starting in PowerShell 3.0. You'll still see it in older guides, and in Microsoft's own monitor example as the short alias gwmi, but for everything else on this page Get-CimInstance is the current way.
If a guide opens with wmic, close the tab. Even on a PC where wmic still runs, it's a deprecated tool.
Is the Hardware ID in Device Manager Your HWID?
No. The Hardware Ids entry in Device Manager is a per-device model code that Windows uses to pick a driver, not a fingerprint of your PC.
Microsoft defines a hardware ID as a vendor-defined string that matches a device to a driver package, so two identical graphics cards carry the same one.
This is where most HWID checker guides go wrong, and it's also what people mean by a "hardware ID lookup": you look up the code to find out what a device is and which driver it needs. To see it:
- Type
Device Managerinto Windows search and open it. - Find the device in the tree, right-click it and choose Properties.
- Open the Details tab and pick Hardware Ids from the Property list.
A graphics card or network card shows a string that starts like PCI\VEN_XXXX&DEV_XXXX. Microsoft's PCI documentation says VEN is the four-character code the PCI-SIG assigns to the chip's vendor, and DEV is the vendor's own code for that chip.
Nothing in it belongs to your PC alone.
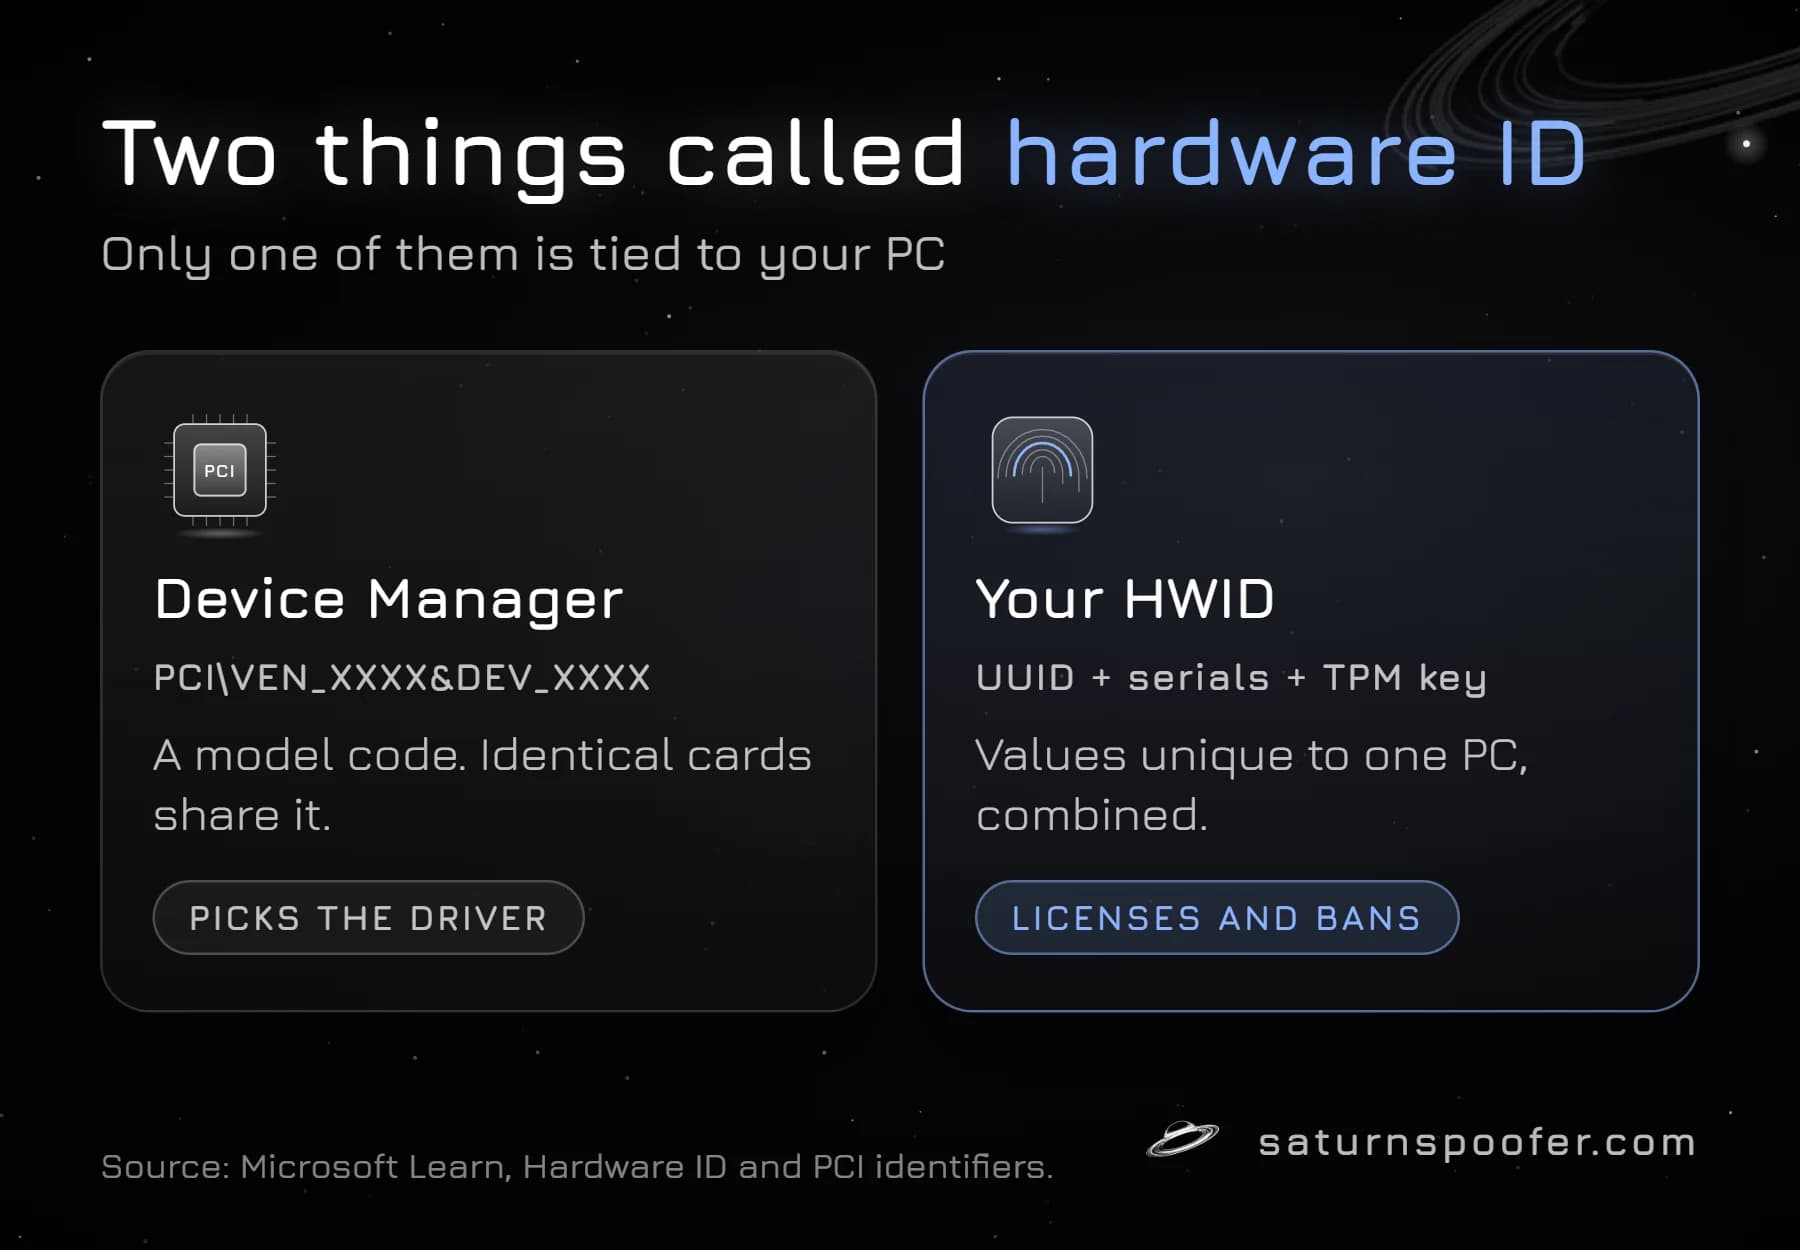
| Device Manager hardware ID | Your HWID | |
|---|---|---|
| What it identifies | A device model | One specific PC |
| Built from | Vendor and device codes | Serials and unique keys |
| Same on identical parts? | Yes | No |
| Used for | Picking a driver | Licenses and hardware bans |
Same name, different job. If a license or a ban is involved, the Device Manager code isn't the one that matters.
What Can't an HWID Checker Show You?
An HWID checker can't show you which identifiers a particular game or program reads, or how it combines them. It shows the values Windows reports, one at a time, at the moment you run it.
Anti-cheat systems keep that part to themselves. Riot's HWID ban article says a hardware ban means "we've banned the physical components of that computer", and when I read it the same day, it didn't say which components.
A checker can't fill that in for you.
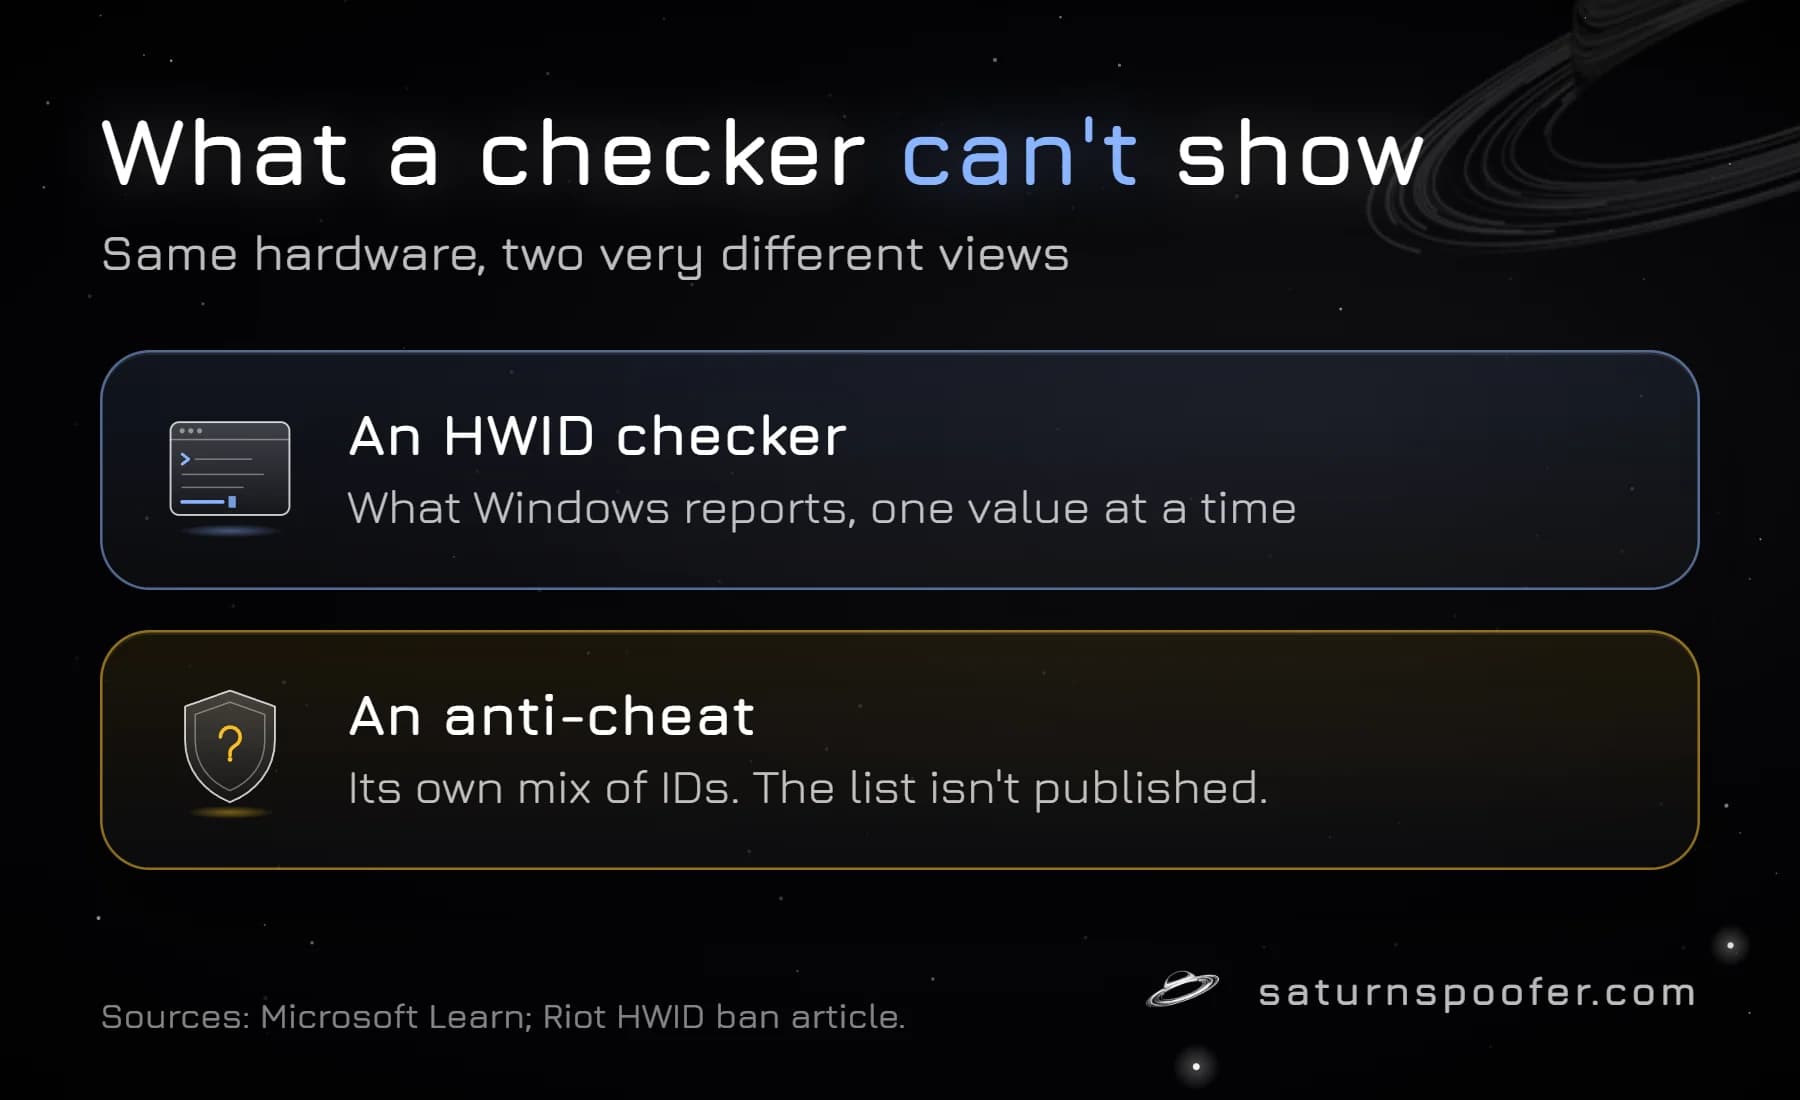
So a clean-looking list from PowerShell doesn't tell you whether a ban still applies to your PC. It tells you what your hardware reports, while the anti-cheat decides for itself what it reads and reads it through its own software, not through your PowerShell window.
That gap is where we come in. We built Saturn as an HWID spoofer that changes the identifiers in the lists above, for one situation: a game has banned the PC itself, not only the account.
If only your account is banned, or you're checking a serial for a license, you don't need it.
If you're weighing the other route, changing your HWID with new hardware only resets the IDs on the parts you replace. A new drive changes one serial, while a new motherboard changes the system UUID and the board serial along with it.
Are Online and Downloaded HWID Checkers Safe?
An online HWID checker can't read your HWID at all, because a web page can't run PowerShell or query the WMI classes these serials come from. A site that claims to show yours is showing details from your browser instead.
A downloaded HWID checker is a program reading the same values the commands above return, and running a stranger's .exe or .bat to get them means trusting code you can't read, with your own account's permissions, for numbers Windows already gives you for free.
My rule is short. If Windows has a built-in command for it, use the built-in command.
How to Check HWID FAQ
What is my HWID?
Your HWID is the set of serial numbers and unique keys in your PC's hardware, read and combined by whatever software needs to recognize the machine. There's no single value to look up. The 128-bit system UUID, drive serials, MAC addresses and TPM endorsement key are the inputs that come up most, and PowerShell reads each one.
Does a factory reset change my HWID?
No. A factory reset leaves the firmware and drive serials alone, so the system UUID, motherboard serial, drive serials and TPM key stay the same. IDs Windows creates itself can change: the volume serial is assigned when a drive is formatted, and administrators report a new Machine GUID after a fresh install.
Is it safe to share my HWID?
Keep it out of public forums and chats. Most of these serials can't change without new hardware, so once they're posted, they stay tied to your PC. If a software company's support team asks for one, send it through their official ticket system.
Is the Device ID in Windows Settings my HWID?
Not in any way Microsoft documents. Settings shows a Device ID on the About page, but when I searched Microsoft Learn and Microsoft Support on November 9, 2026, I found no page saying what it's built from. The PowerShell commands above read the serials directly, so use those.
How can I tell if my HWID changed?
Run the same commands again and compare the values with a copy you saved earlier. Keep that copy somewhere private, like a local text file, not a forum post or a chat.
Why does wmic say it's not recognized?
Because Windows 11 versions 24H2 and 25H2 no longer include WMIC, starting in August 2026, according to Microsoft. Use the Get-CimInstance commands above instead, since they read the same WMI classes that wmic was built on.
Final Thoughts
Checking your HWID takes PowerShell and a handful of commands, and you don't need anyone's HWID checker to do it. The values you get are the inputs to your HWID, and the program asking for them decides how they're combined.
Read the serials with Get-CimInstance, keep them private, and skip any guide that still starts with wmic.
Checked by Gabri on November 9, 2026. Sources: Microsoft Learn pages for Win32_ComputerSystemProduct, Win32_BaseBoard, Win32_BIOS, Win32_PhysicalMemory, Win32_Processor, Get-CimInstance, Get-WmiObject, Get-PhysicalDisk, Get-NetAdapter, Get-TpmEndorsementKeyInfo, Get-ItemPropertyValue, WmiMonitorID, vol, getmac, WMIC, Hardware ID and Identifiers for PCI devices, plus Riot's HWID ban article. No command was run to write this page; every value shown is a documented example or a fake.